
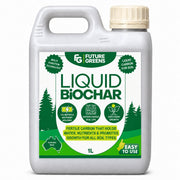
LIQUID BIOCHAR
$69.00 $48.30
Activates soil carbon systems.

A soil test is only as useful as the soil you send. One scoop from a convenient corner can miss the reason a lawn struggles or a garden bed grows unevenly.
The key is simple: combine small samples from a similar area, but keep different areas separate.
Tell the laboratory what you grow, what is going wrong and what you have recently applied. Ask for its sampling instructions before digging.
There is no single depth or sample size for every lawn, garden and test. Recently applied fertiliser, lime, compost or soil treatments can affect results; ask when to sample after these inputs. NSW soil-testing guidance recommends choosing the test package with an adviser.
Keep the lawn separate from vegetable beds. Also separate areas with different soil, imported fill or treatment history. Do not mix a struggling patch into an otherwise healthy area.
Each bag contains a mix from several points within its own zone—not a mix of the whole property. The dots show the approach, not a prescribed number of samples.
For a problem patch, a separate sample from a nearby healthy area under similar management gives your adviser a useful comparison. See Agriculture Victoria’s sampling guidance.
Avoid unusual spots such as a fertiliser spill when assessing the general area; investigate them separately if they are the problem. The SDSU lawn and garden sampling guide explains why distinct areas need their own samples.
Follow the receiving laboratory’s instructions for drying, storage and postage. Do not assume every test needs air-dried soil. Keep a copy of the submission form and your map for future comparisons.
Packing and consistent sampling: NRE Tasmania soil sampling procedure.
Ask your adviser whether pH, electrical conductivity (a salinity indicator), nutrients, organic carbon or exchangeable cations are relevant. For suspected sodicity, ask which exchangeable-cation tests and interpretation are needed.
As NSW’s soil-testing guidance explains, laboratory testing belongs alongside field checks. A chemical test does not, by itself, explain physical compaction, poor irrigation coverage or drainage. Combine the report with site observations before choosing an amendment.
Considering BIOCARBON or CLAY FIXER? Keep the baseline report and identify the actual soil constraint first. Do not select a rate from a generic test result; use current product directions and site-specific advice.
If clay is sealing or turning water cloudy, our home dispersion-check guide is a useful observation to discuss with your adviser—not a replacement for laboratory testing.
Activates soil carbon systems.
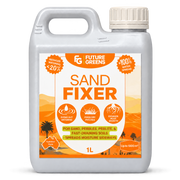
Spreads water through loose soils.
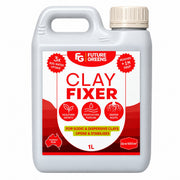
Conditions hard-setting clay.
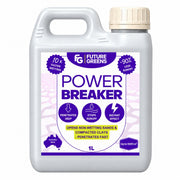
Opens clay and non-wetting sand.

Boosts soil life and plant growth.
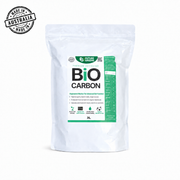
Nutrient-loaded granular biochar.
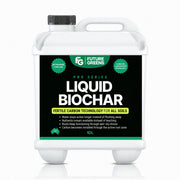
Concentrated root-zone carbon.
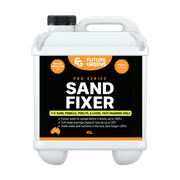
Wider water spread, better efficiency.
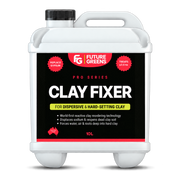
Helps hard-setting clay accept water.
Penetrates clay and non-wetting sand.